요구 기능
- 전체 게시글 목록 조회 페이지
- 제목, 작성자명, 작성 날짜를 조회하기
- 작성 날짜 기준으로 내림차순 정렬하기
- 특정 게시글을 클릭할 경우 게시글 조회 페이지로 이동하기
- 게시글 작성 페이지
- 제목, 작성자명, 작성 내용을 입력하기
- "글쓰기" 버튼을 클릭하면 전체 게시글 목록 조회 페이지로 이동하고, 최신 게시글이 최상단에 위치함을 확인하기
API 설계
기본적으로 기획한 api는 4가지이다.
시간 내에 구현을 완료한다면 수정, 삭제, 로그인 등등을 더 구현할 수 있을 것이다.
| 기능 | method | url | 반환 |
| 게시글 작성 | GET | /api/newpost | |
| 게시글 등록 | POST | /api/newpost | Post |
| 전체 게시글 조회 | GET | /api/posts | List<Post> |
| 특정 게시글 조회 | GET | /api/posts/{id} | Post |
게시글 작성
<!DOCTYPE html>
<head>
  <meta charset="UTF-8">
  <title>게시판</title>

  <style>
  #board_write {
    margin: 40px;
  }

  .form-group {
    margin-top: 25px;
  }

  </style>

  <link href="https://cdn.jsdelivr.net/npm/bootstrap@5.0.2/dist/css/bootstrap.min.css" rel="stylesheet"
        integrity="sha384-EVSTQN3/azprG1Anm3QDgpJLIm9Nao0Yz1ztcQTwFspd3yD65VohhpuuCOmLASjC" crossorigin="anonymous">
  <script src="https://ajax.googleapis.com/ajax/libs/jquery/3.5.1/jquery.min.js"></script>
  <script src="https://cdn.jsdelivr.net/npm/bootstrap@5.0.2/dist/js/bootstrap.bundle.min.js"
          integrity="sha384-MrcW6ZMFYlzcLA8Nl+NtUVF0sA7MsXsP1UyJoMp4YLEuNSfAP+JcXn/tWtIaxVXM"
          crossorigin="anonymous"></script>
</head>
<body>

<div id="board_write">
  <h4>글을 작성하는 공간입니다.</h4>
  <form class="wirte-form">
    <div class="form-group">
      <label for="exampleFormControlInput1">제목</label>
      <input type="text" class="form-control" id="exampleFormControlInput1" placeholder="제목">
    </div>
    <div class="form-group">
      <label for="exampleFormControlInput2">작성자</label>
      <input type="text" class="form-control" id="exampleFormControlInput2" placeholder="작성자">
    </div>

    <div class="form-group">
      <label for="exampleFormControlTextarea1">내용</label>
      <textarea class="form-control" id="exampleFormControlTextarea1" rows="3" placeholder="내용을 입력하세요"></textarea>
    </div>
  </form>
  <button type="button" class="btn btn-dark" style="border-radius: 10px; margin-top: 20px" onclick="write_post()">완료</button>
</div>
</body>
</html>
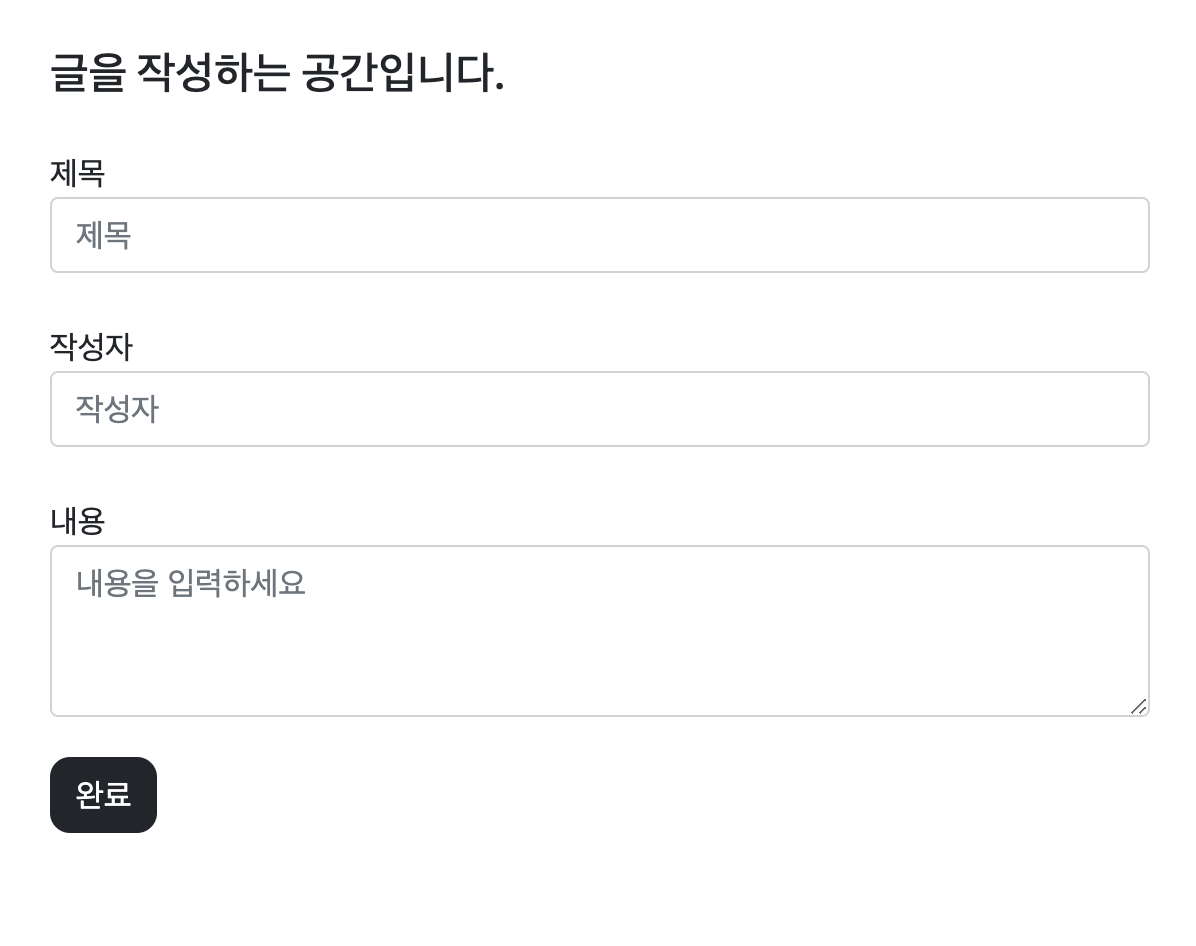
간단하게 bootstrap을 이용하여 게시글을 작성 페이지를 만들었습니다.
중요한건 기능을 구현하는 것이기 때문에 view에 큰 신경을 쓰지 않았습니다.
제목과, 작성자, 내용을 입력하는 부분이 존재하고 완료를 누르면 wirte_post 함수가 작동되어 backend로 제목과, 작성자, 내용에 대한 정보를 넘겨주도록 할 것입니다.
그 전에 제목과, 작성자, 내용을 입력했는지 부터 확인해 봅시다.
제목, 작성자, 내용이 빈칸이 아닌지 확인, 빈칸이라면 경고 문구를 출력하고, focus로 해당 좌표를 알려주고 있습니다.
function write_post() {
  let title = $('#title').val();
  let writer = $('#writer').val();
  let content = $('#content').val();

  if (title == '') {
    alert('제목을 입력해주세요')
    $('#title').focus();
    return;
  }
  if (writer == '') {
    alert('작성자를 입력해주세요')
    let writer = $('#writer').focus();
    return;
  }
  if (content == '') {
    alert('내용을 입력해주세요')
    let content = $('#content').focus();
    return;
  }
}
이제는 진짜 게시물을 작성하고 저장하도록 하겠습니다.
database에 게시글 내용을 저장할 것이기 데이터베이스를 사용해야 합니다.
연습용으로 h2 database 사용할 것이고, h2 database 사용을 위해 application.properties에 아래와 같이 작성을 합니다.
spring.h2.console.enabled=true
spring.datasource.url=jdbc:h2:mem:testdb

spring.jpa.show-sql=true
자 이제 write_post에서 얻은 제목, 작성자, 내용에 대한 정보를 ajax를 사용하여 backend로 넘겨줍시다.
$.ajax({
      type: "POST",
      url: "/api/newpost",
      data: JSON.stringify({
          title: title,
          writer: writer,
          contetn: content
      }),
      success: function (response) {
          console.log("unlike")
          $i_like.addClass("fa-heart-o").removeClass("fa-heart")
          $a_like.find("span.like-num").text(num2str(response["count"]))
      }
  })
백엔드로 데이터를 전송하였습니다.
그러면 받은 데이터를 database에 저장을 해야하는데, 이때 필요한건 database table에 대응되는 entity입니다.
entity를 만들어 보겠습니다.
데이터 전달은 dto 친구가 대신 해줄 것이기 때문에 우리는 그것을 받을 준비를 해주면 됩니다.
dto를 매개변수로 받는 생성자를 만들어 주었습니다.
@Entity
public class Post extends TimeStamped {
    @Id
    @GeneratedValue(strategy = GenerationType.AUTO)
    private Long id;

    @Column(nullable = false)
    private String writer;

    @Column(nullable = false)
    private String title;

    @Column(nullable = false)
    private String content;

    public Post(PostDto postDto) {
        this.writer = postDto.getWriter();
        this.title = postDto.getTitle();
        this.content = postDto.getContent();
    }
}
dto도 만들어 줘 볼까요??
dto는 getter만 열어주도록 합시다.
@Getter
public class PostDto {
    private String writer;
    private String title;
    private String content;
}
Post entity가 TimeStamped를 상속받고 있죠??
생성시간과, 변경시간을 상속받고 있습니다.
timeStamped 클래스도 만들어 봅시다.
@MappedSuperclass
@EntityListeners(AuditingEntityListener.class)
public abstract class TimeStamped {
    @CreatedDate
    private LocalDateTime createdAt;

    @LastModifiedDate
    private LocalDateTime modifiedAt;
}
Auditing이 가능하도록 main함수에도 @EnableJpaAuditing을 추가해 주어야 합니다.
@EnableJpaAuditing
@SpringBootApplication
public class Week01Application {

   public static void main(String[] args) {
      SpringApplication.run(Week01Application.class, args);
   }

}
기본적인 환경 구축은 완료하였습니다.
이제 데이터베이스에 넣는 행위를 진행해야합니다.
데이터 베이스에 넣기 위해 Repository를 만들어줍니다.
public interface PostRepository extends JpaRepository<Post, Long> {
}
controller d
@RequiredArgsConstructor
@Controller
public class PostController {

    private final PostRepository postRepository;

    // main 화면 보여주기
    @RequestMapping("/")
    public String home() {
        return "home";
    }

    // 게시글 작성 페이지로 이동
    @GetMapping("/api/newpost")
    public String writePost() {
        return "newpost";
    }

    // front에서 받은 정보를 database에 저장
    @PostMapping("/api/newpost")
    public Post savePost(@RequestBody PostDto postDto) {
        Post post = new Post(postDto);
        return postRepository.save(post);
    }
}